In today’s digital technology and social media culture, many visual artists do not print their work. But those who decide to print professionally gets an exceptionally special quality print and satisfaction of achieving real life results. Once you get fine art print of your images the first time, you will never overlook prints again. Prints also help in making your photography skills more perfect as they do not hide your faults like backlit monitors do. Every spot, every lacuna, every blemish in your image will be seen in the print.
Digital printing is a process of converting your digital image, which is in pixels, to a physical copy using digital printer, ink and paper. You can call it a production stage of your photography process after digital editing and before display or distribution.
Ansel Adams has said, “the negative is the equivalent of the composer’s score and the print is it’s performance”. In today’s world you can say the same thing that your digital file is like the composer’s score and print is it’s performance.
Here are few things to consider when preparing an image for printing.
- Type of print – there are two main printing methods prevalent today, inkjet prints and digital C print.
- Inkjet prints – these are produced by placing a tiny drops of ink on paper or canvas to produce an image. Inkjet printers use two types of inks, pigment or dye based. Pigment inks are made of tiny particles that sit on top of the media while dye based ink’s are absorbed into the paper. Pigment inks are archival and can last up to 200 years or more under proper conditions (usually museum quality lighting and framing ). Pigment inks are expensive than the dye based and they also have two limitations, one is they suffer from metamerism, which appears as shift in colour while viewing the print at an angle, and second is they are not as vibrant as dye based inks. While dye based inks fade more quickly, professional printers usually use pigment inks .
- Digital C Print (lightjet) – this uses laser to expose chromogenic paper which is then processed in chemicals, similar to traditional photographic print. It’s a continuous tone print unlike inkjet which produces tiny dots of ink on paper to create an image. The laser produces true photographic quality with continuous gradations and tones. Due to less longitivity and reduced colour gamut of C print, inkjet print is a preferred choice than C print.
- Image processing –
- Monitor calibration – Settings of your computer screen can drastically affect the way your image looks on screen. You edit your images to look good on screen but there is a chance that your prints will look nothing like what you see on your monitors. To solve this issue you need to match your screen to known standards which sets the colour and brightness so what you see on your screen gets translated to what comes back from the printer. There are several options available for monitor calibrations and all of them will get your monitor set to known standards that the printing engine can translate to similar output. Finally you also need to understand the lighting under which you will be viewing or displaying the print. Too cool lighting will make your print look bluer, fluorescent lighting will make it greener and tungsten will warm the tones.
- Colours – look for colours which are either oversaturated or under saturated. Heavily saturated colours like red tones can cause problems at printing stage, at the same time, colours which are lacking in saturation might appear dull and washed out in prints. Calibrating your monitor or neutralising your editing applications workspace can make a huge difference to the colour balance of your image.
- Contrast – you may have tweaked the contrast at the editing stage for aesthetic purposes, but you should reassess the contrast levels with print results in mind. Due to light emitted by screens, contrast often appear stronger when viewed on computer. In print, contrast can appear less stark, or it might be a good idea to increase the contrast level a little more than you normally apply.
- Sharpness – perception of image sharpness can also differ depending on viewing of the image on screen or on print. For print you may need to increase a sharpness of the image to bring out clarity of details in the image. The end result will be a sharp graphic print which will look bold and beautiful when displayed and viewed from afar.
- Size and resolutions – you would probably have decided on how large a print you need, but remember that this will have limitations depending on the resolution of your image. If you want to print your image as a large scale, high quality art print you need to make sure that your image is of an extremely high resolution so that pixelation will not be visible in the end print. It’s always better to have resolution set to minimum 300 dpi with desired dimension of your print. So if you need 30 by 20 inches print your file dialogue in photoshop will look like below for best print setting.
- Media – Now a days technology allows you to print onto just about any material – canvas, metal, fabric. However paper and canvas are still first choice of many photographers, they’re easily available and produce excellent displays, which can be trimmed, mounted, stretched, gallery wrapped or framed. You should study and feel different finishes available and select the ones which suits your visualisation of the final print. Paper/canvas finish depends on the coating applied to the paper during production, it can be glossy, semi gloss or matte finish. It’s a personal preference as to what kind of finish you like on your prints. Although traditionally photos are printed on high gloss medias to maximise vibrant colours, it’s not the choice of today’s photographers who look for more contemporary and subtle look of matte finish in their prints. Certified archival media is also available which lasts for 75-150 years depending on the method of storage or display.
- Where to print – You have understood the printing process, the available media options and have prepared your images to print, now the next thing is to know is where to print them. There are three ways you can print your images.
- Local Print shops – Most cities will have several print shops servicing their local neighbourhood. Some of these cater to more basic printing jobs like, flyers, reports, cards, for your need you should look for the more specialised art printers who print fine art prints.
- Online Print on Demand services – This is the most convenient way, as you just upload your image on the website, choose the media and receive the print at your place in few days. Downside of these services are, there is no face to face discussion before you commit to the printing and you cannot be sure about preserving your artistic intent and colours in final prints.
- Artist centres / Custom printing studios. – These are the specialised studios run by artists where you can discuss with them about your final visualisation and achieve that in your prints. In India, Nature Works (www.natureworksindia.com) provides such a Custom Printing Studio for artists and photographers.
- Decide your budget – Depending on your end use, whether you are selling prints, or exhibiting them or just gifting them to someone, you can decide on the quality and longitivity of the media to get the best value out of your print. A number of factors contribute to the pricing like cost of the material selected, size of the print, borders and trimming required, number of prints etc. You can always discuss with your printer about media and displays before you decide on a particular budget.
- Ask for Proof if you need – You can always ask for small size proof print before you commit to your final large size prints, so that you can be sure of the colours reproduced in the prints.
- Final Prints – It is always very satisfying to see your final print once you receive it. Check for any physical damages. If there is any, you can contact the printer, most specialised printers will replace the damaged prints if they are damaged in transit or at their place. You can handle and store it carefully till you give it for framing or mounting or for any other purpose. Make sure that you save the print prepped files for future printing jobs or reference since an ethical printing studio will never store their customer’s files after completion of the printing job.
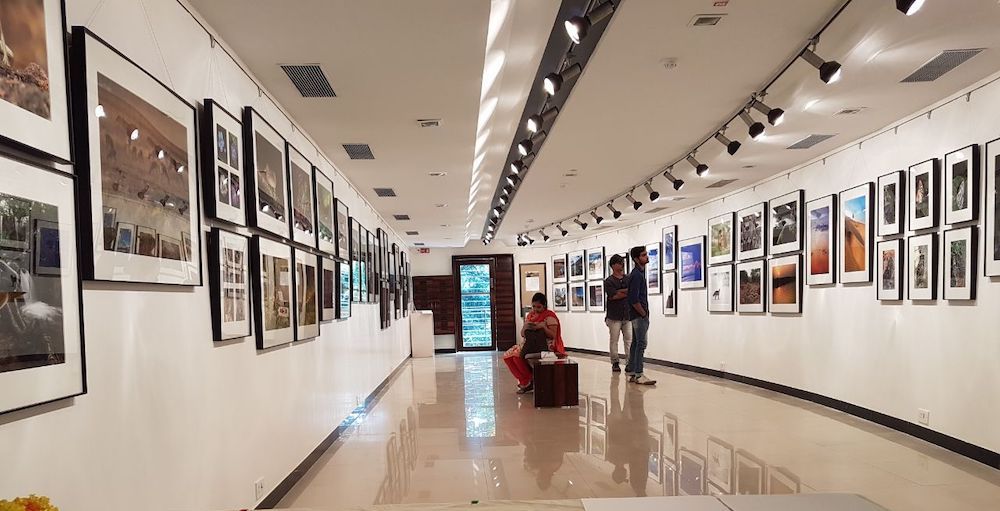
Time to relax and admire your Fine Art print, or gift it to your loved ones or friends. You can always plan your exhibition to showcase your art. Prints always create joy and satisfaction for both the artist and viewers.